Do you need to take both classes?
If you want to either IICRC class or both, you can click here for my Eventbrite link:
What is the difference between the two classes?
There are many different certifications offered by the Institute of Inspection Cleaning and Restoration Certification. I am an approved instructor for the IICRC in the category of Stone, Masonry & Tile (SMT). I am also an instructor in Floor Care Technician (FCT).
There are some similarities and many differences between SMT and FCT. This article is intended to help you by providing information about both classes.
SMT Training
First off, Stone, Masonry & Tile is not merely a ‘stone polishing’ class. Stone polishing is part of the class, but it’s not 14 hours of just stone polishing. Of course, the SMT class has a lot of ‘hands on’ for polishing countertops, but there are other hard surfaces covered in SMT, such as hybrid stone, quartz and cementitious materials.
Identification is key. You can ruin a hard surface if you do not identify it properly. Is it natural? Is it man-made? Is it hybrid? SMT covers the process of identification, how to maintain the surface and then how to restore it.
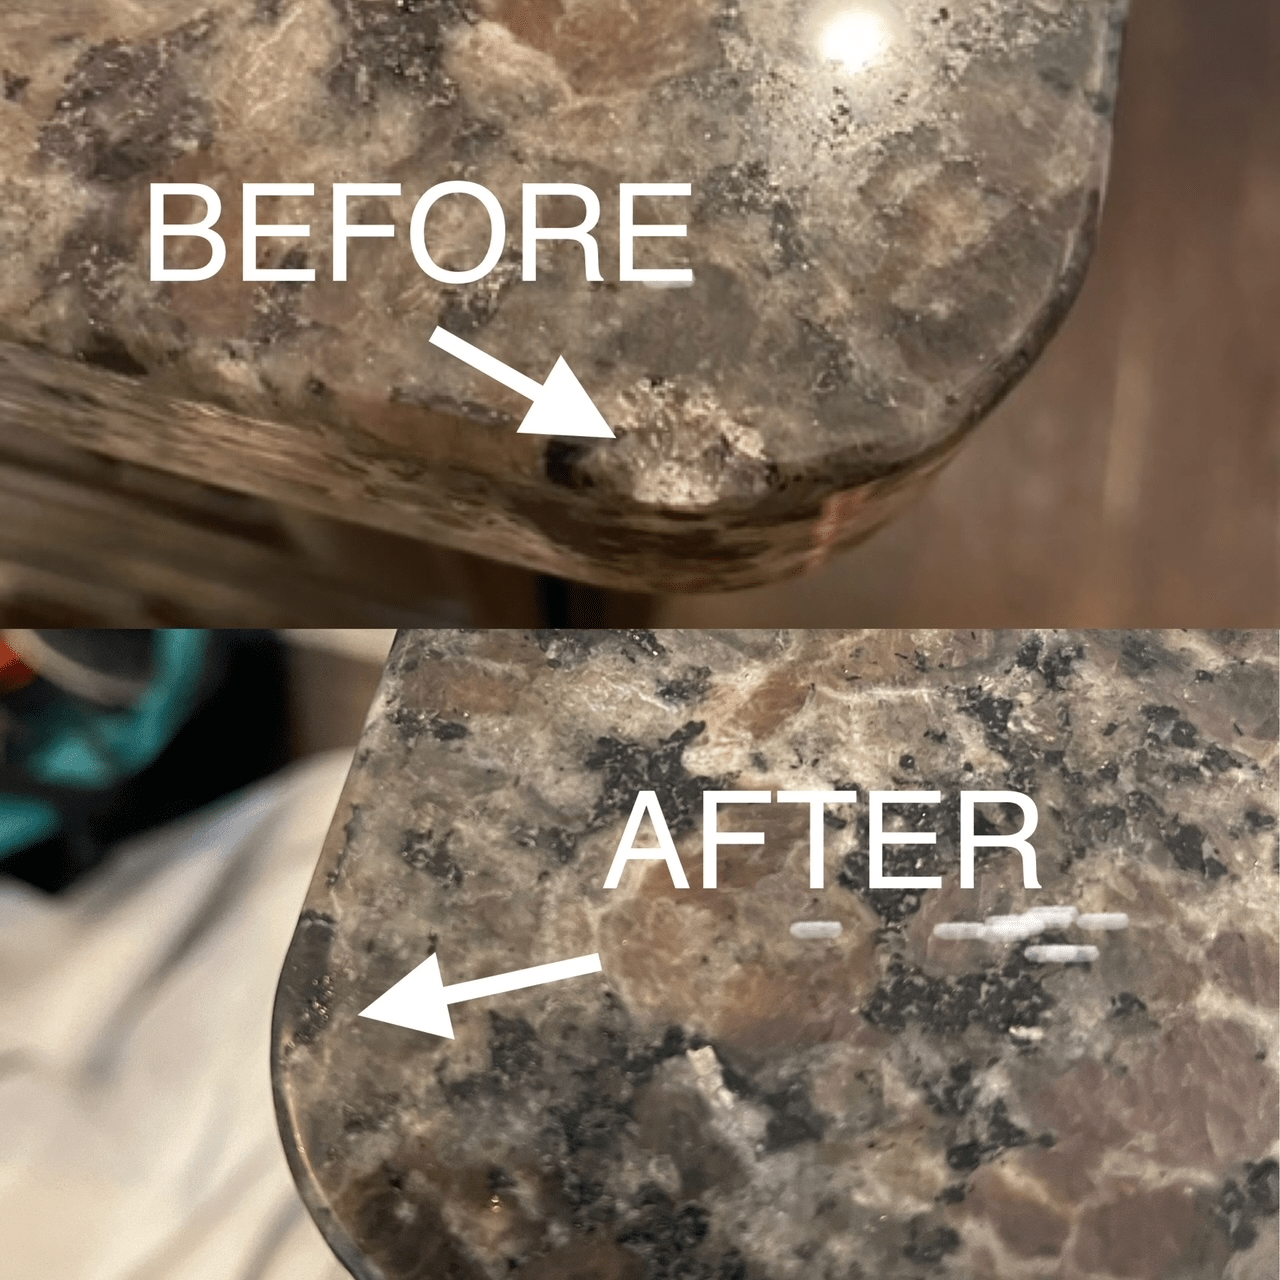
Stone repair from abuse is gaining in popularity. My SMT class will cover all the basic stone repair methods and we’ll even do some hands on stone repair. (photo credit Nova Stone Repair)
Hybrid stones are gaining in popularity. Builders want to construct homes with natural materials. However, they need a more homogeneous look. If you go to a model home and see a certain stone floor, and then your home is built a year later, the stone may look different. The homeowner may complain because they liked the stone in the original model home better.
Manufacturers are now making tiles that look and feel like natural stone and not like porcelain or ceramic. This is a typical display at Floor&Decor.
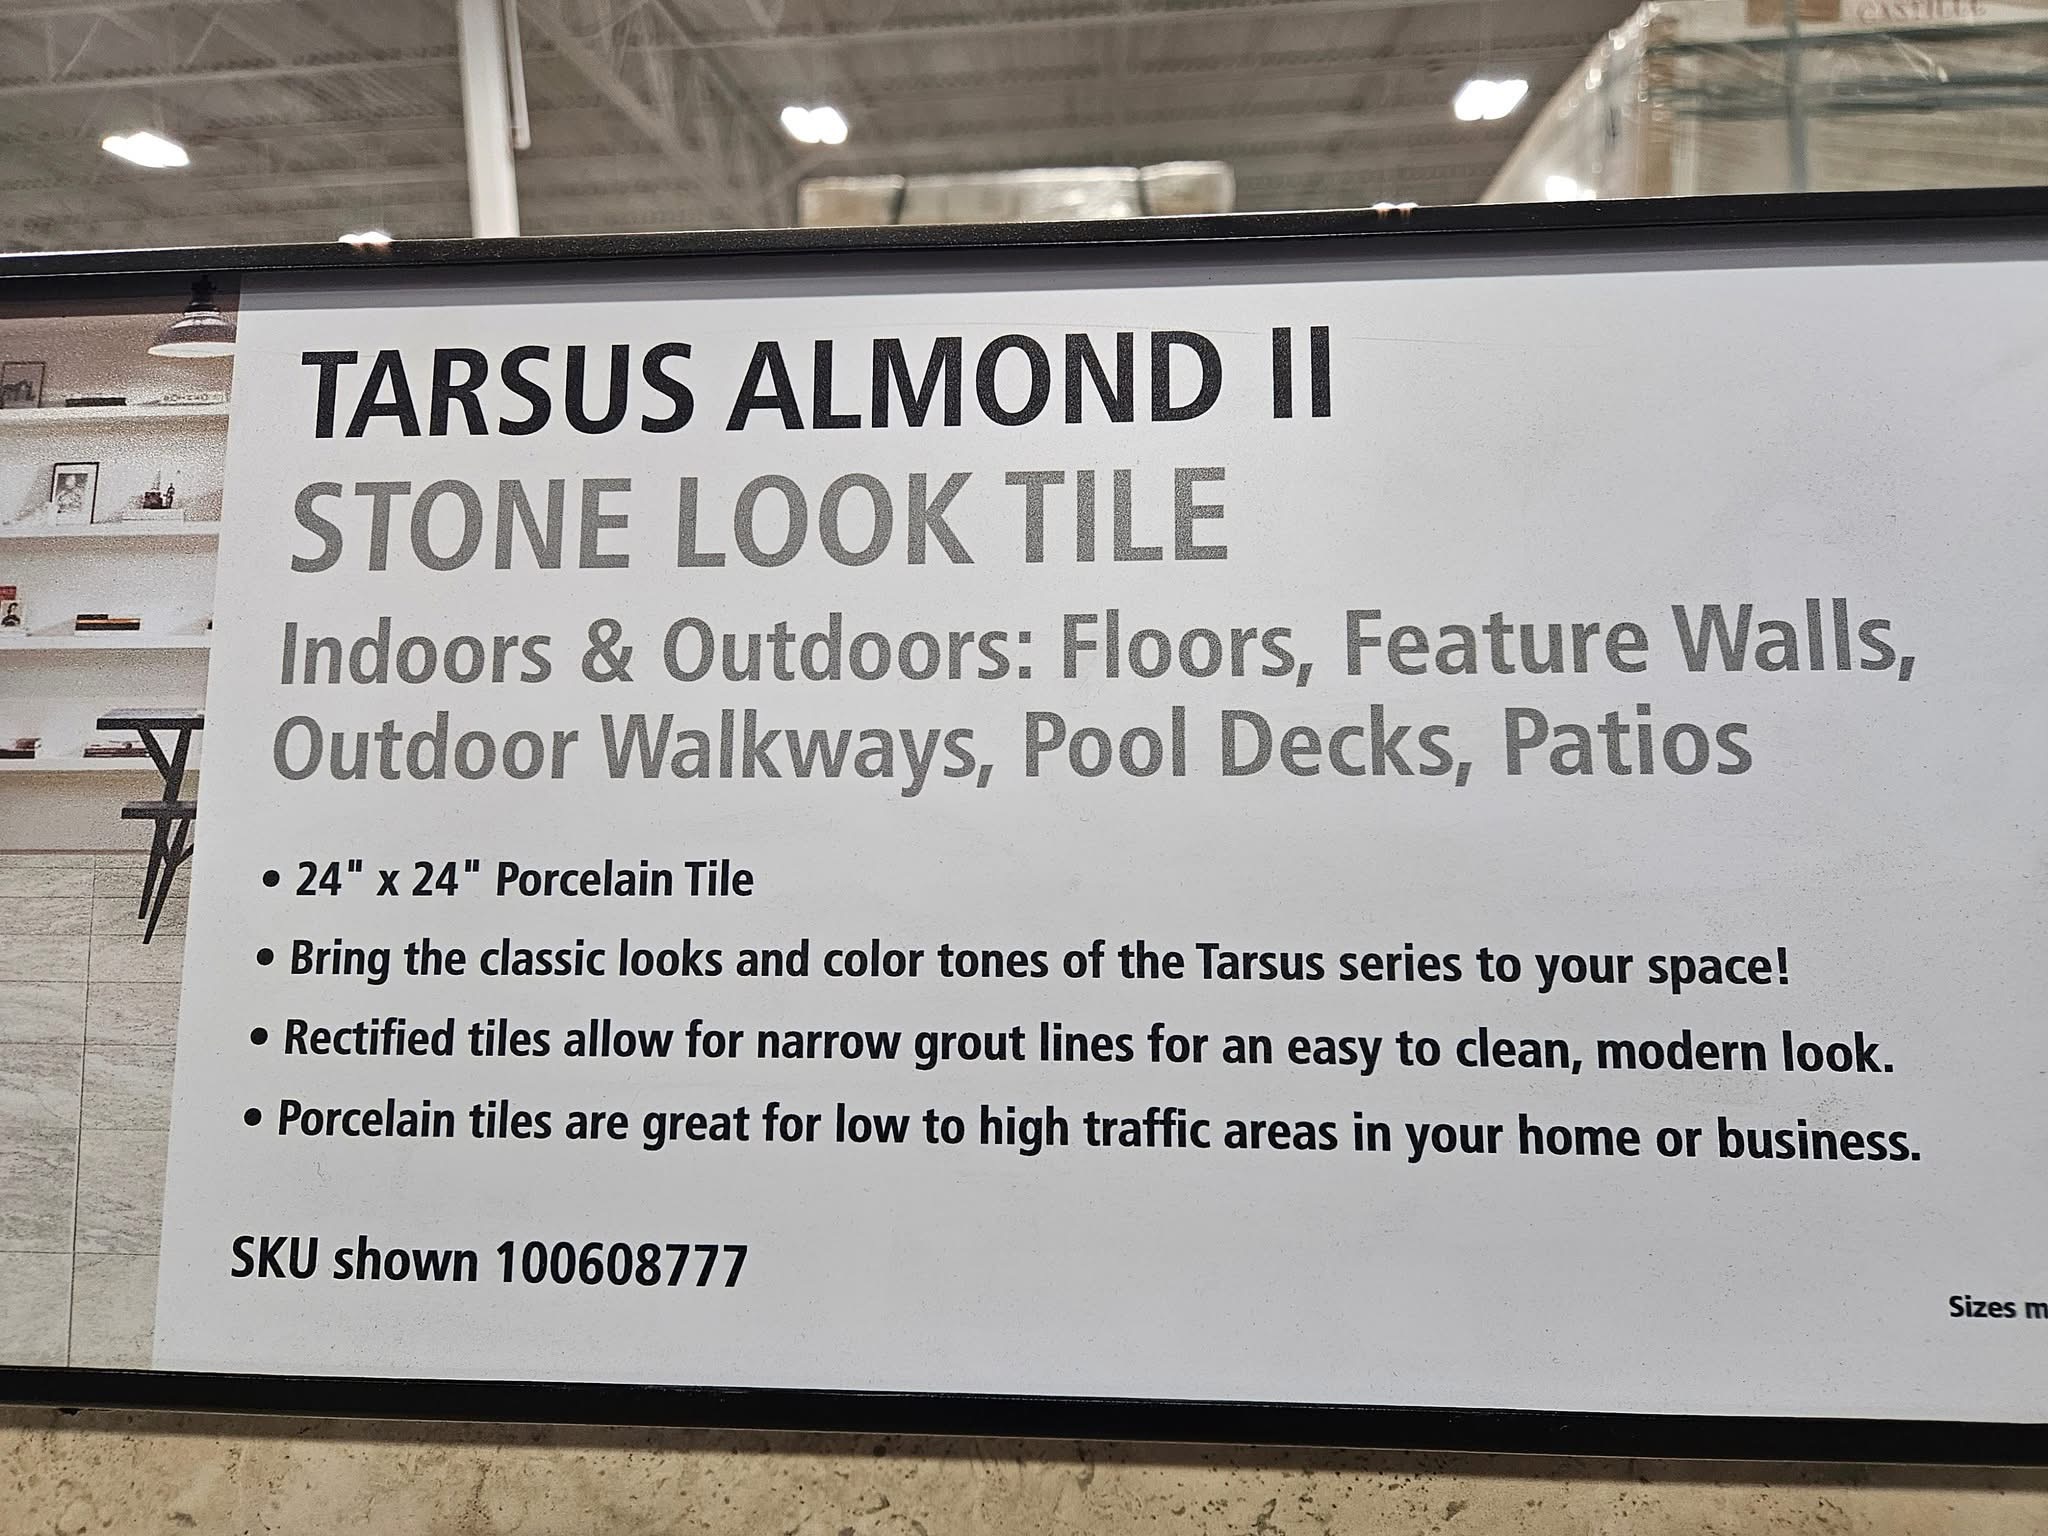

If you are trying to clean this man-made hybrid stone, then you should know what the manufacturer recommends….but how will you know to look for a manufacturer recommendation? You need to know first whether it is manufactured or not.
SMT goes into great details about the differences between stones and their man-made counterparts. It explains how to tell the difference without involving a laboratory or a geology degree.
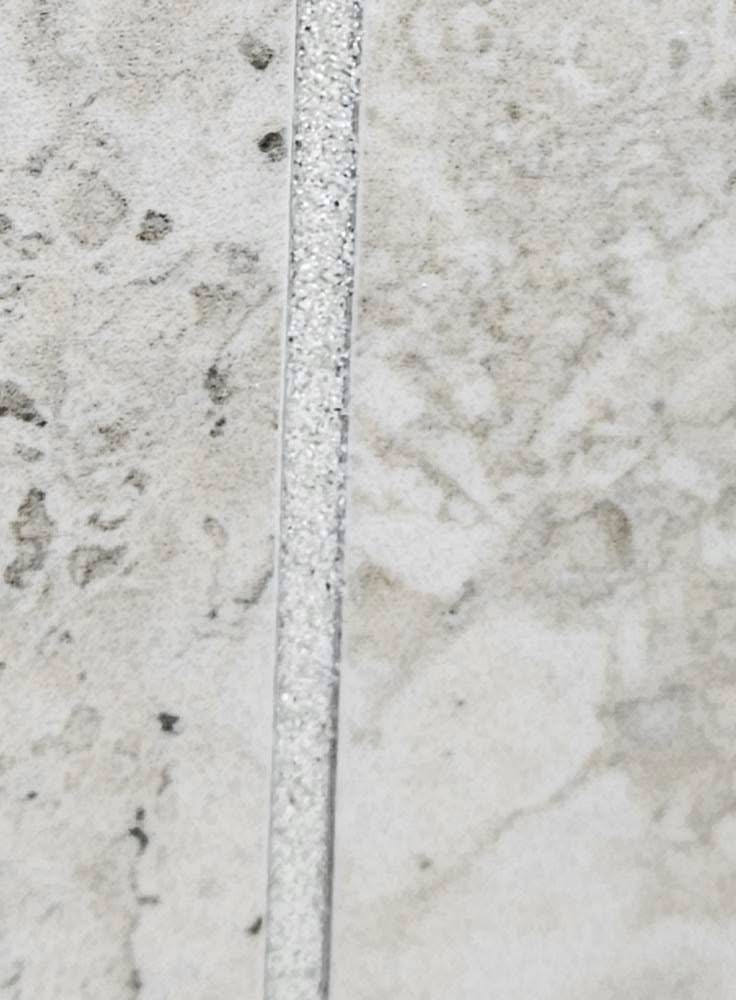
SMT also discuss how to identify problem floors BEFORE you start working on them. There are tell tale signs of what to look for and should be included in your pre-inspection report. Many cleaners miss these signs, begin a job, then when tiles pop up or if they become dull it become a bad situation.
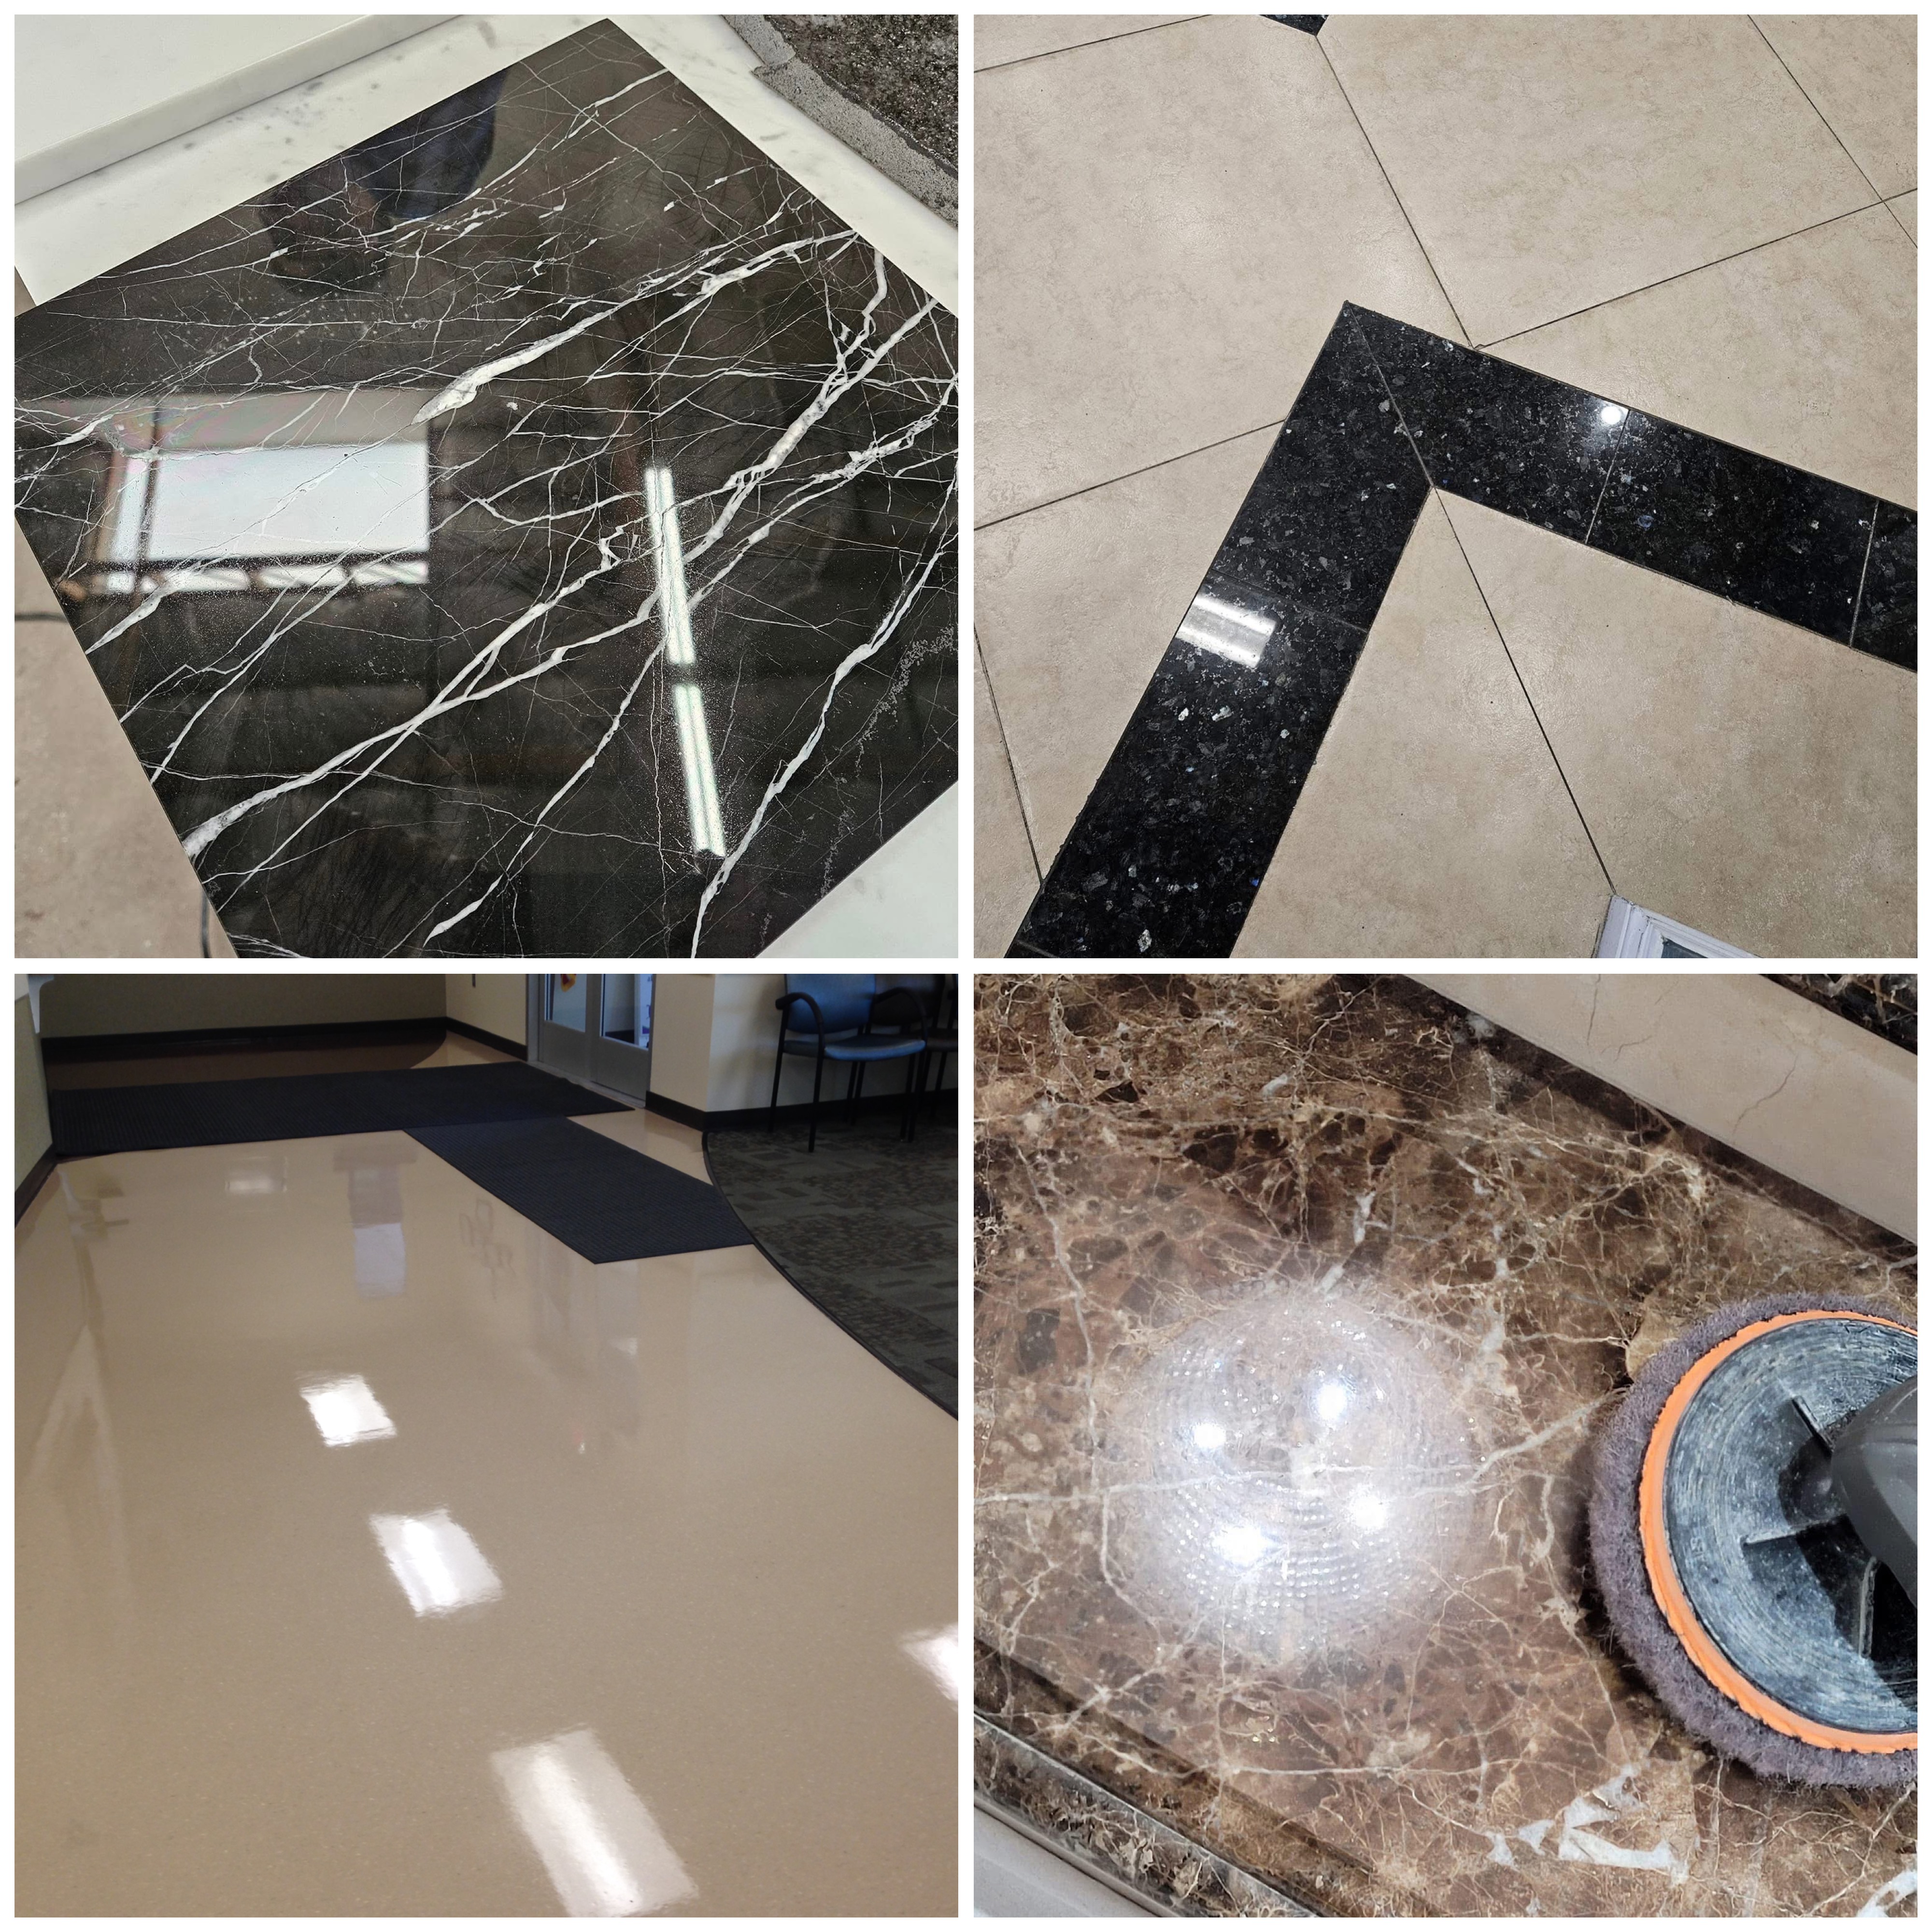
The reality is that no one hardly ever calls a contractor to work on shiny, perfect marble. They usually call a contractor when the marble looks like the example below. It is often full of stains and etch marks.
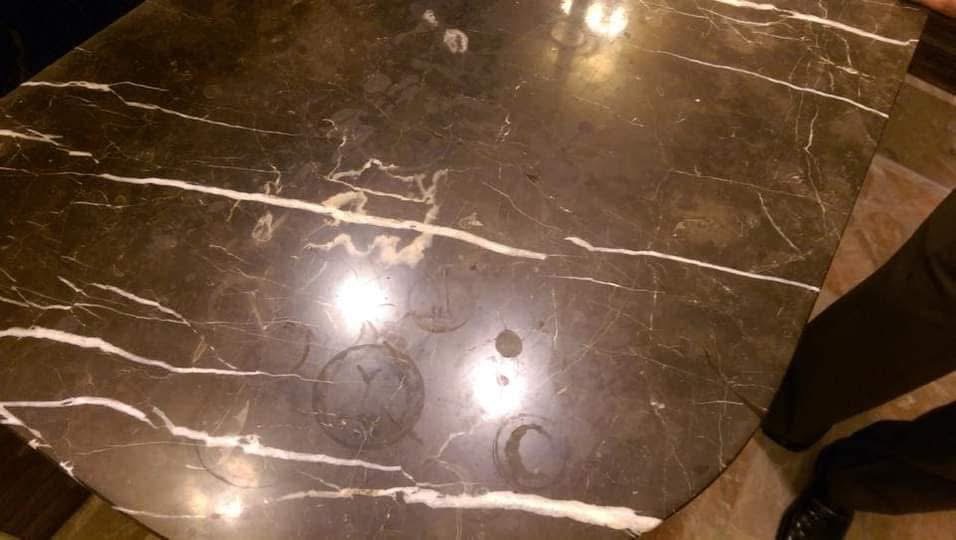
The drama is that if you mis-identify this damaged marble surface, you will treat it like a man-made surface. Consequently, you aren’t going to have a good day. Treating a natural surface as if it is man-made can cause extensive, irreparable damage.
Another issue that SMT deals with are the various methods for sealing both natural and mad-made surfaces. Did you know that porcelain and ceramic in the factory were coated with a sealer? Did you know that natural stone products like marble and granite can use topical fillers? These fillers are used to reduce or remove natural texture and pitting. Coatings and dyes may also be applied in the factory to make them look more homogeneous.
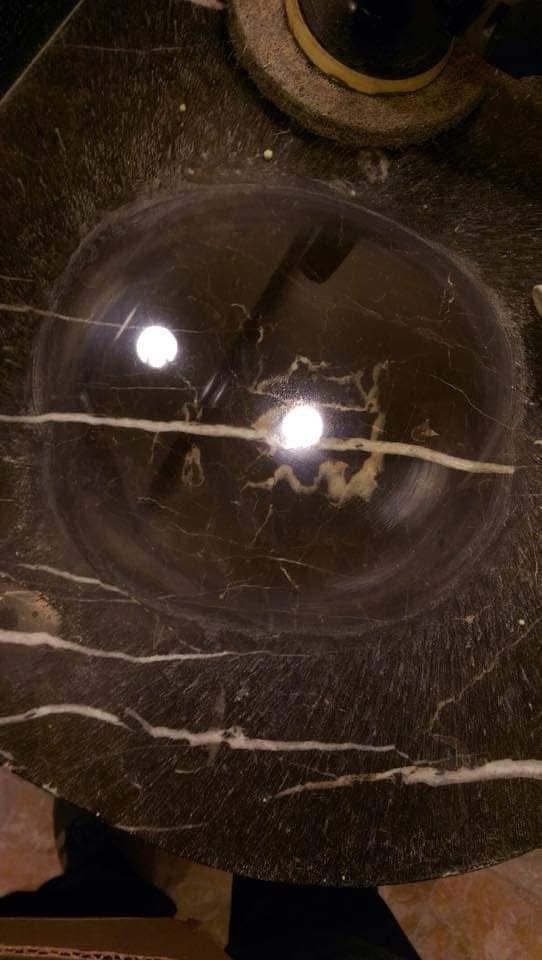
Thus, there are times when a contractor uses diamonds and water to restore a damaged stone surface. However, they may struggle to return the natural shine or color. They might not realize that they have altered the factory finish.
There are also times where a contractor uses harsh chemistry on man-made clay tiles. They scrub too hard and create a film or haze on the floor. They do not realize that they have removed the topical sealer and exposed the pores. The exposed pores are now contaminated and the issue needs to be addressed.
In my SMT class, I go over these scenarios. I try to assist my students on how to avoid these issues. If they can’t avoid them, then I teach them how to fix these issues.
In summary, the main mission of SMT is to teach the student to identify the surface. They learn how to troubleshoot what is wrong with it. Then, they learn how to maintain it and, if necessary, restore the surface.
The IICRC SMT Class is 14 hours of classroom with some hands on mixed in. Many times, I add an additional, optional ‘hands on’ day when I teach my IICRC classes. This allows us to get more immersed into the world of SMT. Different IICRC instructors have different life experiences and different takes although the manual and tests are the same. Try taking the SMT class with different instructors to get a more full education.
FCT Training
Floor Care Technician does go into stone vs man-made surfaces, but so much more.
FCT, like SMT, is 14 hours of IICRC training mixed with hands-on and classroom work.
The main difference between the 2 classes concerns man-made flooring. There is the all-important category of resilient flooring.
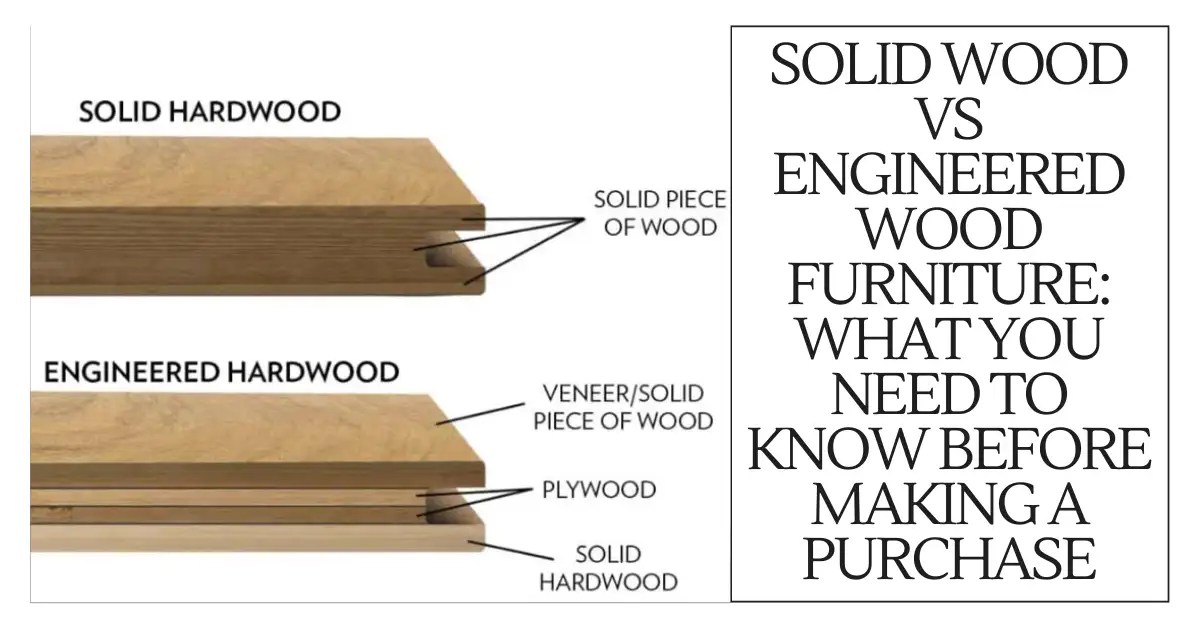
Engineered Wood
Engineered wood is just that. It is manufactured wood using natural materials. This process creates a look that is homogenous between thousands of homes. You don’t need to worry about different shades of color or different densities of the wood product itself.
Engineered wood comes in different grades. It ranges from a piece of wood fiberboard with a photocopy of wood glued over the top. It also ranges to high-end wood veneer. This high-end wood veneer may tolerate a mild sanding with a vibrating sander handled by a craftsman. The trick is in how to identify the surface in the bid process, not afterwards.

If you confuse engineered wood with natural plank wood, then you are going to have a bad day. FCT explains how to identify the various types of wood floors. It also covers the best practices for cleaning and restoring them.
LVT (Luxury Vinyl Tile)

Luxury Vinyl Tile is manufactured in a similar way to engineered wood, but the ingredients are different. For example, the ‘veneer’ on the surface is not a natural wood veneer. It is a manufactured vinyl veneer that can look like natural wood.
The LVT ‘core’ of the tile is often a trade secret. It comes in many grades. Some tiles are ‘softer’ while others are more ‘rigid’. The tiles vary for different grades of installation, whether for residential or commercial use.
Advances in technology have led to impressive developments. An engineered imitation wood LVT plank can now mimic the appearance of an engineered natural wood plank. It can also resemble a natural wood plank. If you get them confused, then you are going to have a bad day.
FCT explains how to tell the differences between these types of floors. It also covers the best practices for cleaning and restoration.
VCT Tile
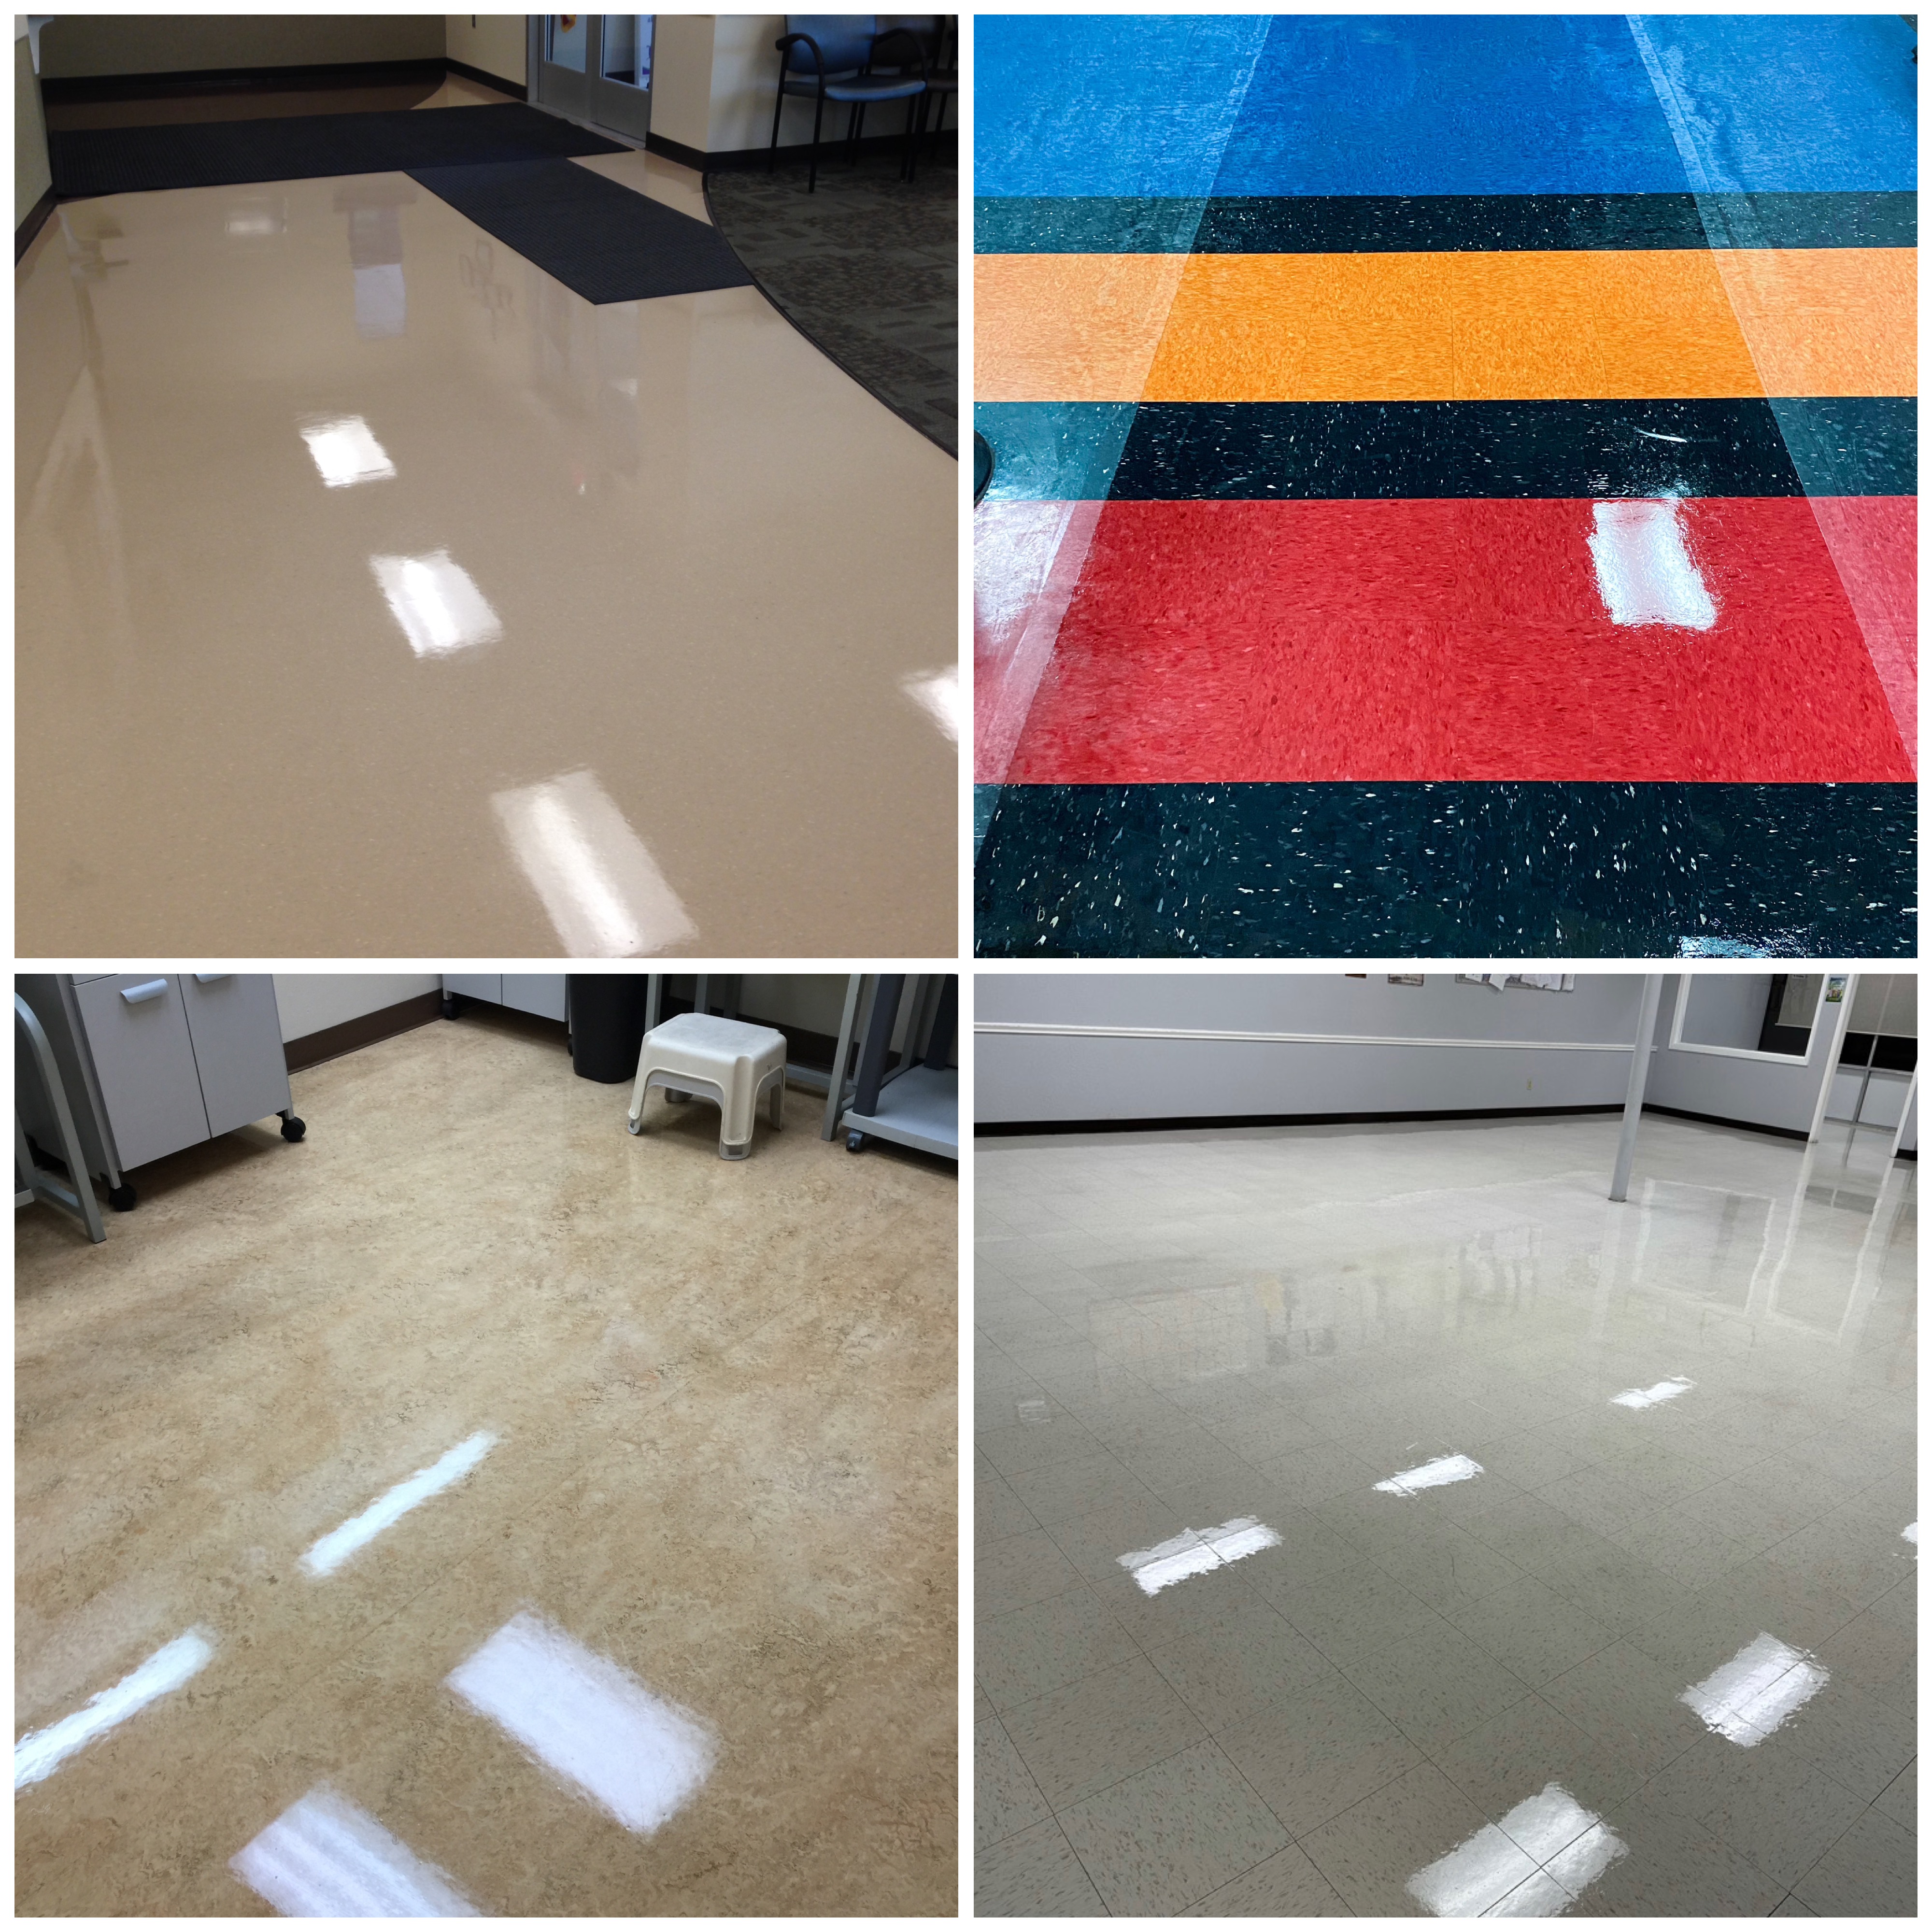
VCT floors have been around forever and aren’t going away anytime soon. Easy to install, easy to remove and repair, it is the Mac & Cheese of commercial floor installations.
FCT goes into great detail about the best practices for cleaning, maintaining, stripping and waxing VCT floors.
There is more than one method and several pro tips and tricks for working on VCT. For instance, do you know the difference between ammoniated and non-ammoniated stripper and which to use under different circumstances?
Would you like to know the differences and benefits between dry stripping VCT vs chemical stripping VCT?
Would you like to know the differences between the different grades of VCT coatings? Acrylics, urethanes and solvent formulas?
Rubber and Linoleum Floors
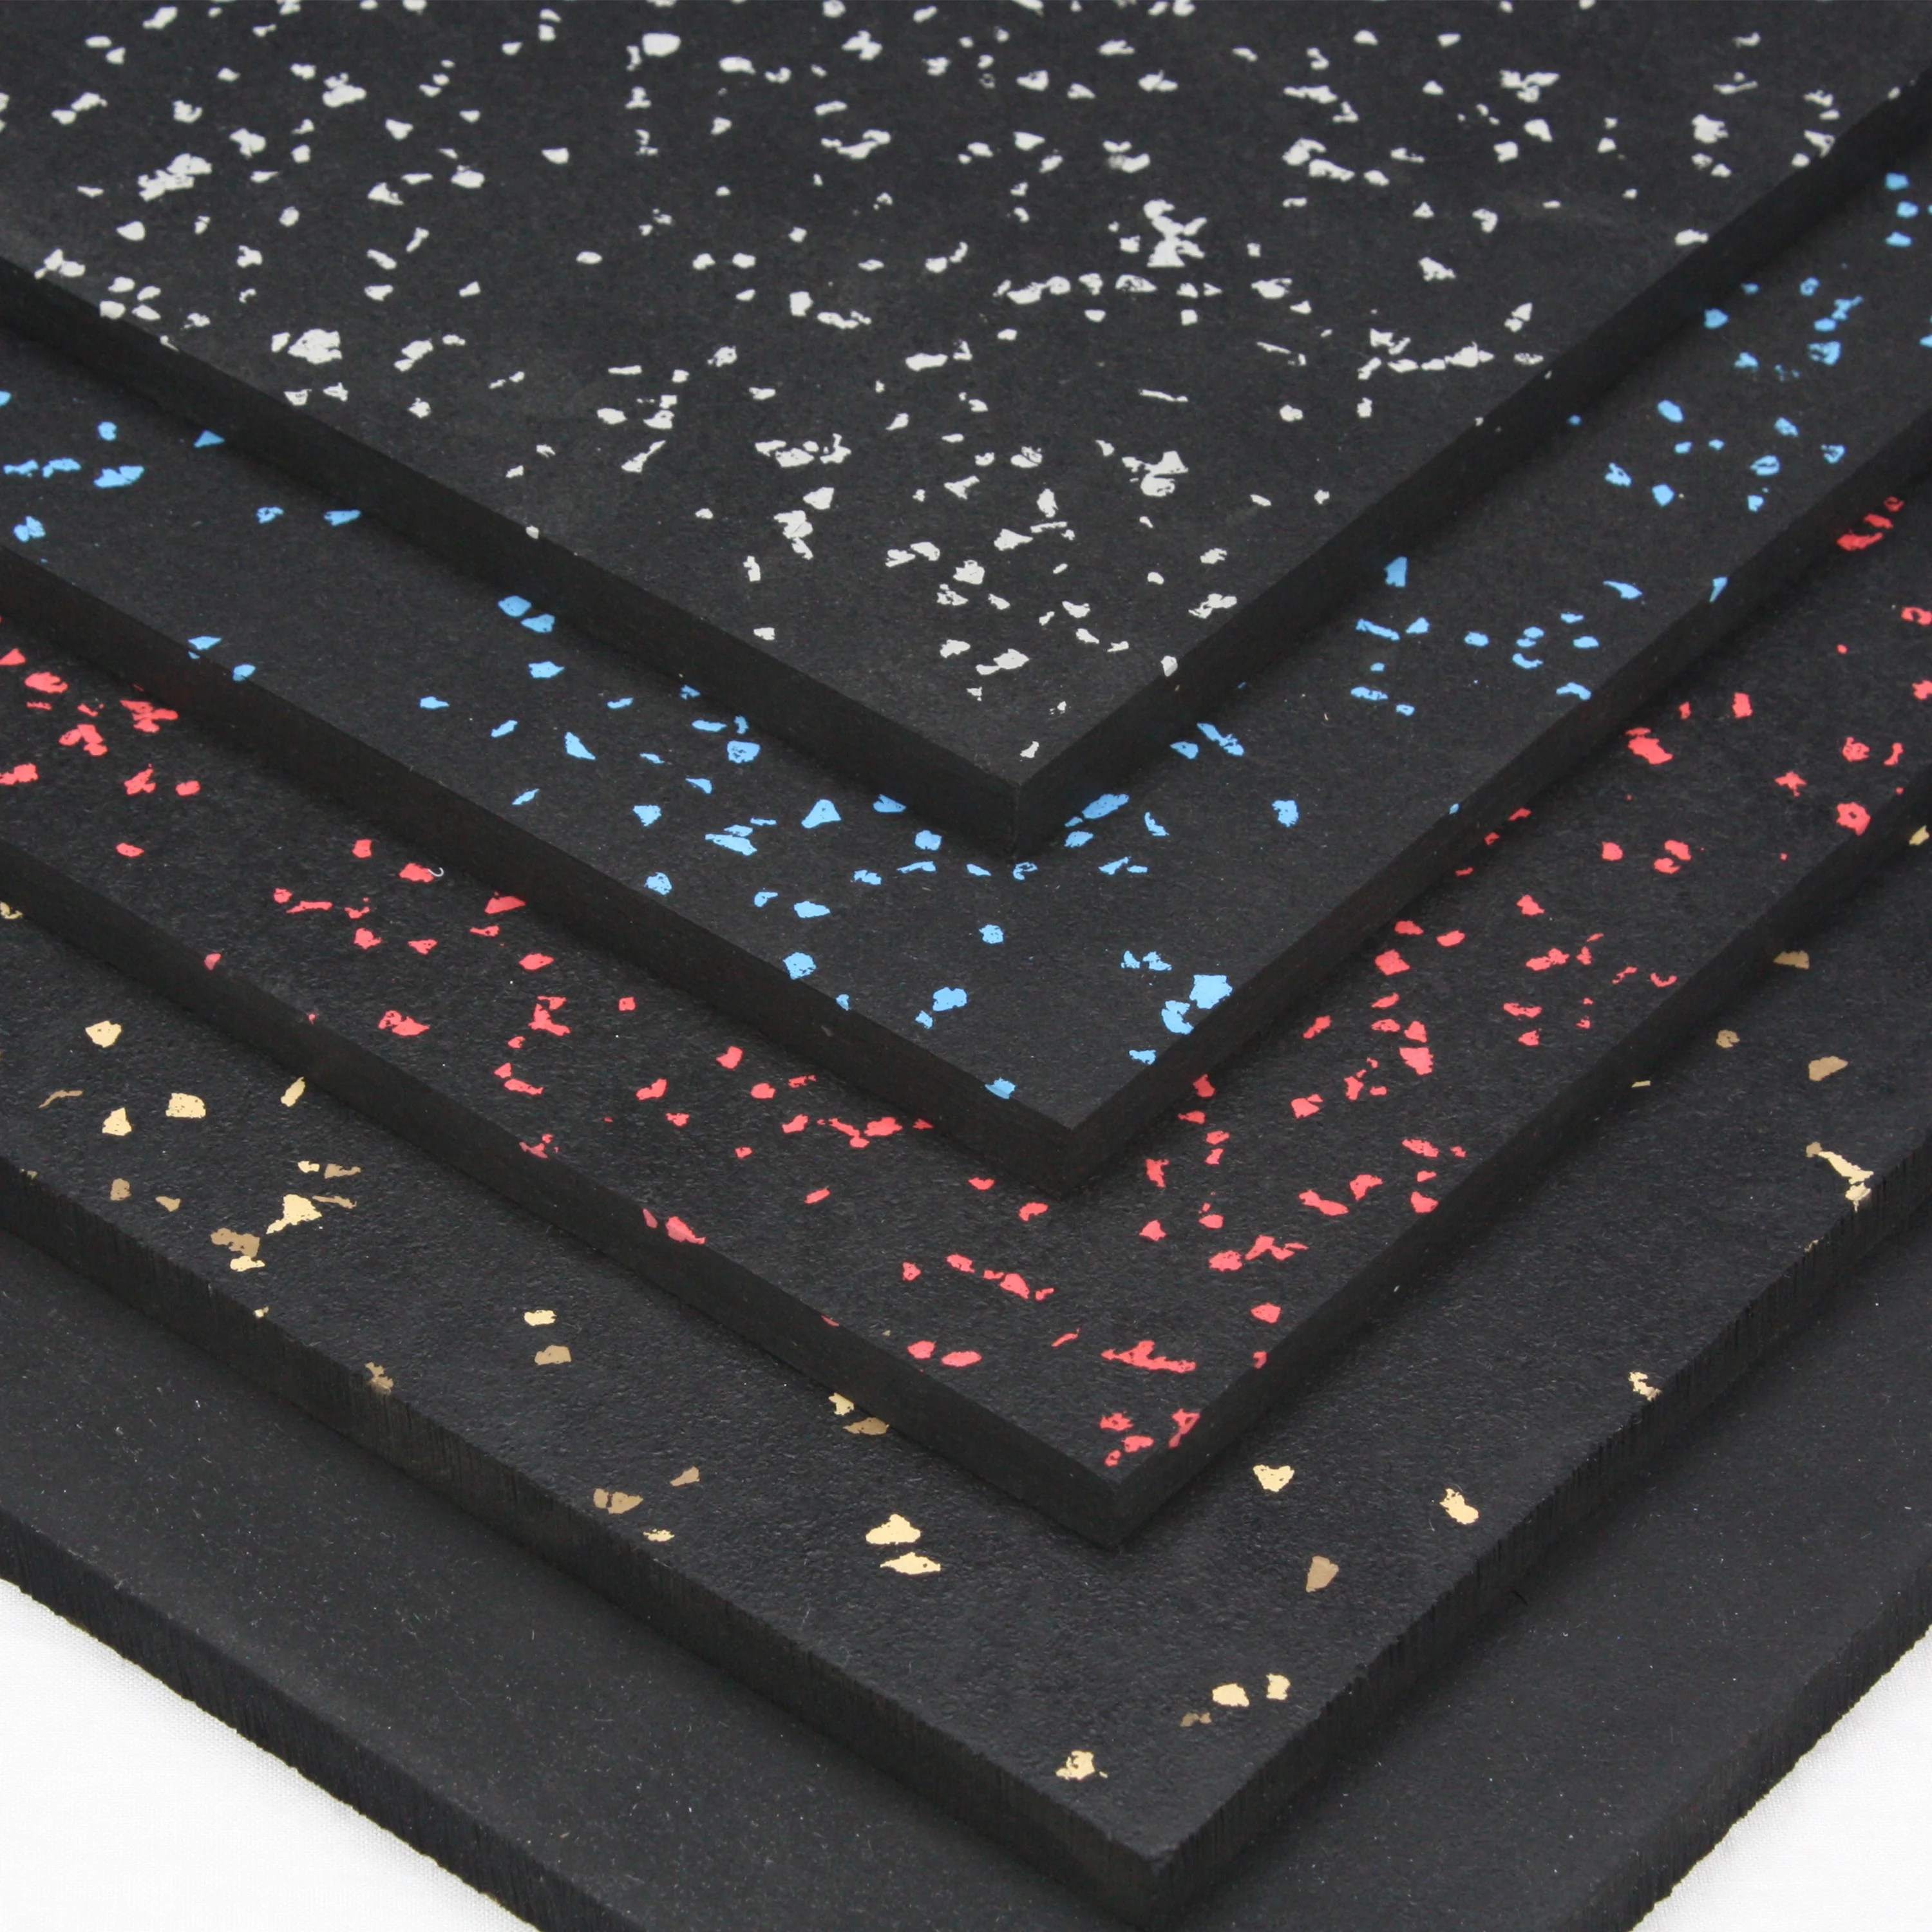
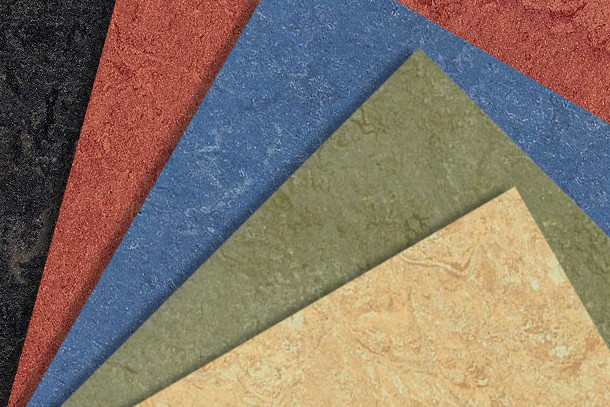
Do you know how to identify rubber and linoleum floors?
photo credit left to right: https://www.ubuy.com.my/en/product/FBKAJB8-flooringinc-premium-4ft-x-6ft-vulcanized-rubber-gym-flooring-equipment-mats-8mm-thick-grey, https://www.spectracf.com/commercial-linoleum-flooring/
You know that these floors exist and have probably even them a few times. Would you like to know how they are constructed and the best practices for cleaning and restoring them?
Which class is right for you?
FCT covers a broad range of categories. It is good for janitorial companies. It also benefits anyone working in both residential and commercial cleaning and restoration.
SMT specializes in the field of hard surfaces and generally ignores rubber, LVT, VCT, linoleum, engineered wood etc. Usually, if you are an advanced stone contractor, you aren’t doing many rubber floors. This is unless you are a large, diverse commercial maintenance entity.
So what is my opinion?
Bottom line? TAKE BOTH! 👀😀
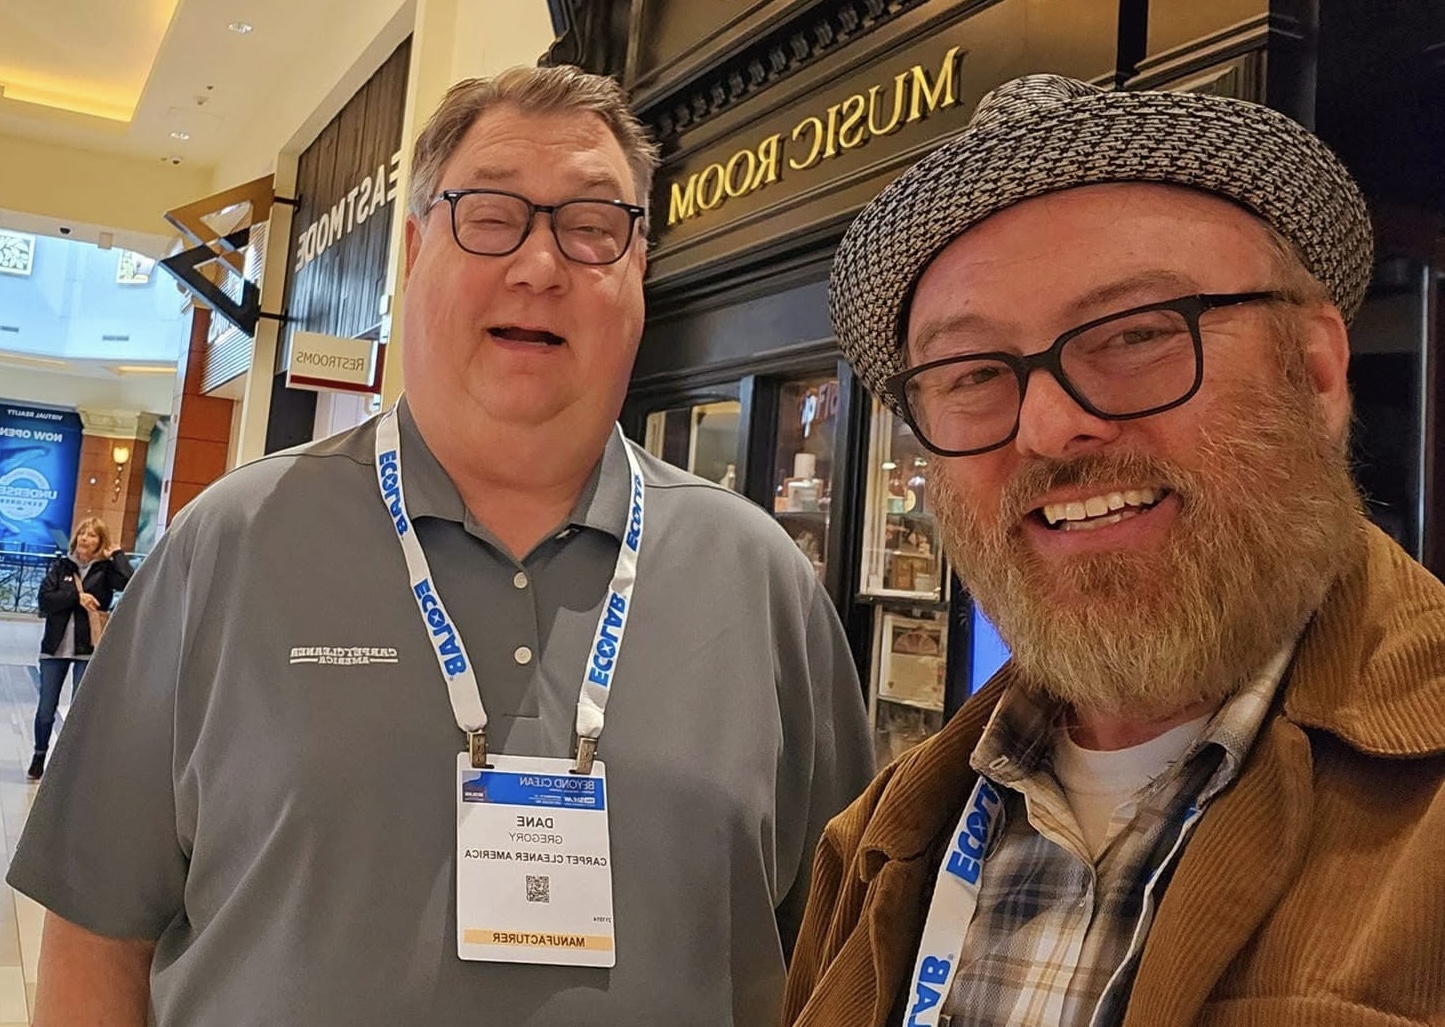
I owe a lot to my friend and mentor Dane Gregory. I teach under his IICRC Approved School, 3D Corporation. I use Dane’s 3D Corp intellectual property to teach my classes.
Please follow my social media and this blog for information about my teaching locations. You can also contact me at robertfalzone@robertfalzone.com
On X you can follow me at https://x.com/realrobfalzone?s=21&t=6k0d7jAqlwnyU85bNGjA4w
On Facebook you can follow me at https://www.facebook.com/robert.falzone.5?
Here are some quick guides that you can download and use for yourself in the field: